Grilled Stuffed Tilapia is like your typical grilled whole fish except that it is stuffed with delicious veggies inside. It is simple, easy-to-cook, delicious, and totally Filipino. I enjoyed having it with a dip of spicy toyomansi (ponzu).


So, how easy is it to make your own grilled stuffed tilapia? Let me tell you. I started out by buying the freshest tilapia from the Asian store. It is better if you can have them clean-up the fish by removing the scales, gills, and guts. Make sure to wash the fish using running water to make sure that it is clean and that the scales and other innards are completely removed. I then rub coarse salt all over the fish including the cavity. This gives the fish flavor and it can also make it last a bit longer, if you plan to cook it at a later time (you have to put it in a fridge or freeze it though if you plan to cook it after several hours).
The stuffing is simply a mixture of chopped tomato, onion, scallion, and ginger. I added lemon juice to make it fresh tasting along with salt and pepper for extra flavor. Simply scoop the mixture into the cavity of the fish then you are ready to grill. I usually use a cooking oil spray to coat the outer part of the fish with oil. This will prevent the fish from sticking to the grill. If there are still scales, coating the fish with oil is not necessary. It will also be handy if you have a grilling basket for fish because you can easily flip the fish when needed. It also holds the stuffing and prevents it from falling-off while you grill.
That’s about it. The next steps are all up to you. You might probably arrange this in a boodle fight manner with banana leaves, rice, and all the nitty gritty. You can also simply do this like I do — arrange in a large plate and serve in the middle of the dining table for the entire family to enjoy.

Try this Grilled Stuffed Tilapia Recipe. Let me know what you think.
- 1 whole large tilapia, cleaned (scales and gut removed)
- 1 large plum tomato, cubed
- 1/4 cup chopped scallions
- 1 small yellow onion, cubed
- 1 teaspoon minced ginger
- 1/2 teaspoon garlic powder
- 1 tablespoon lemon juice
- 1/4 teaspoon ground black pepper
- 2 1/2 teaspoons course sea salt
- Cooking oil spray
- Rub 1 1/2 teaspoons salt all over the fish. Set aside.
- Combine the tomato, onion, scallions, garlic powder, ginger, lemon juice, pepper, and remaining salt in a bowl. Mix well.
- Stuff the mixture in the cavity of the tilapia.
- Heat-up the grill. Once the grill is ready, spray a little cooking oil on both sides of the tilapia. This will prevent the skin of the fish from sticking on the grill.
- Grill each side of the tilapia for 10 to 12 minutes.
- Remove from the grill and arrange in a serving plate. Serve with your favorite dipping sauce.
- Share and enjoy!


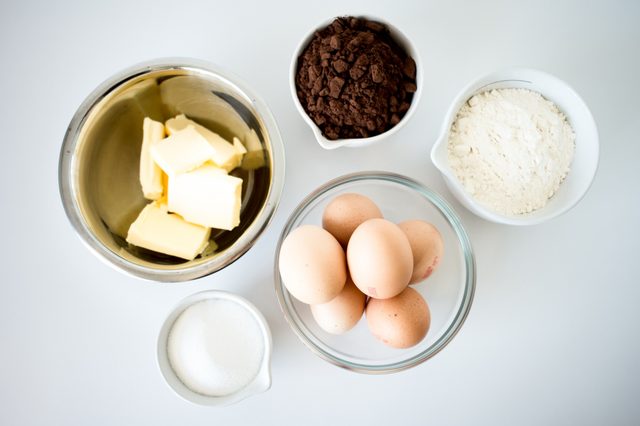 Carefully measure your ingredients beforehand.
 Grease and line your cake tins.
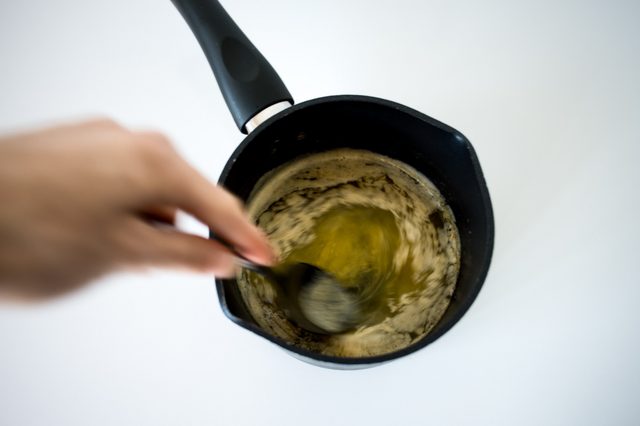 Melt the butter and vanilla over low heat.
 Whisk the eggs and sugar to combine.
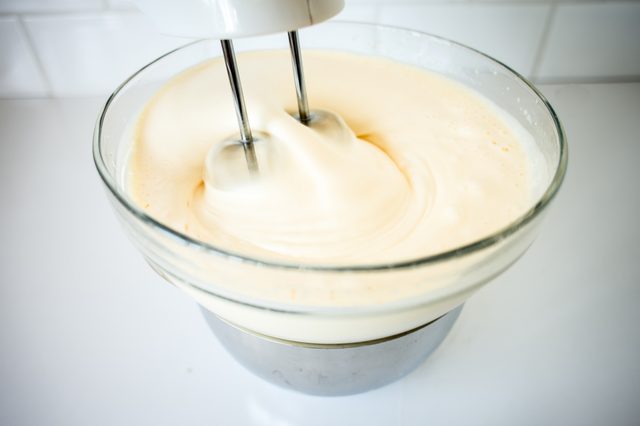 Whisk until the mixture is pale and tripled in volume.
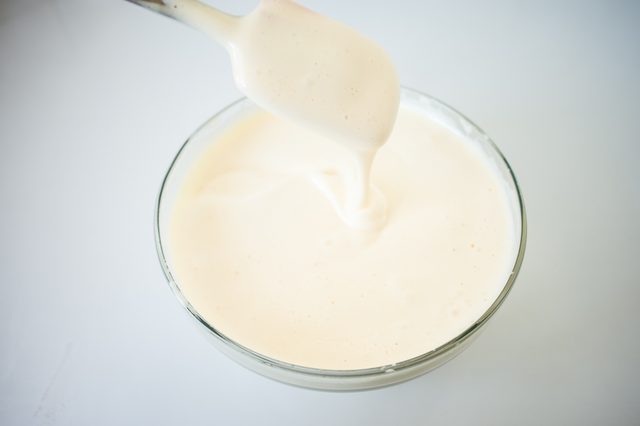 The mixture should be thick so that it leaves a trail.
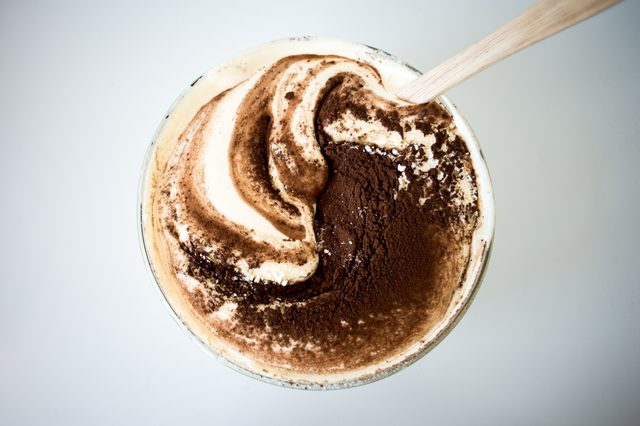 Gently fold in the dry ingredients.
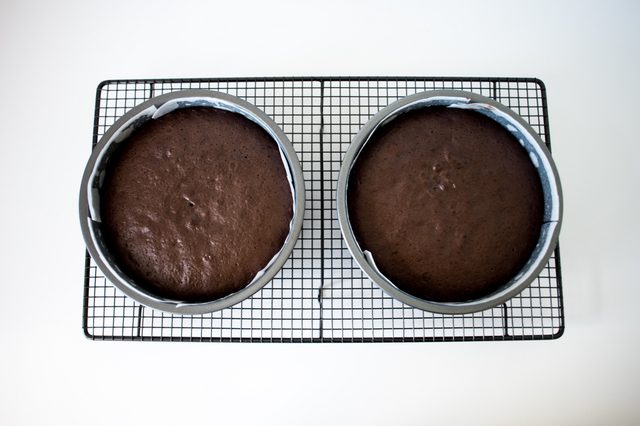 Let the cakes cool in their tins.
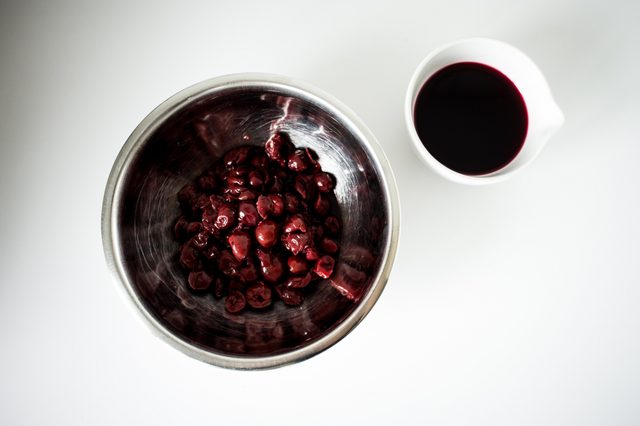 Set the cherries and syrup aside to cool.
 Pour the hot cream over the chopped chocolate.
 Whisk the cream until it begins to hold its shape.
 Glaze the first cake layer with syrup.
 Arrange the cherries on top of the cream.
 Top with the second cake layer.
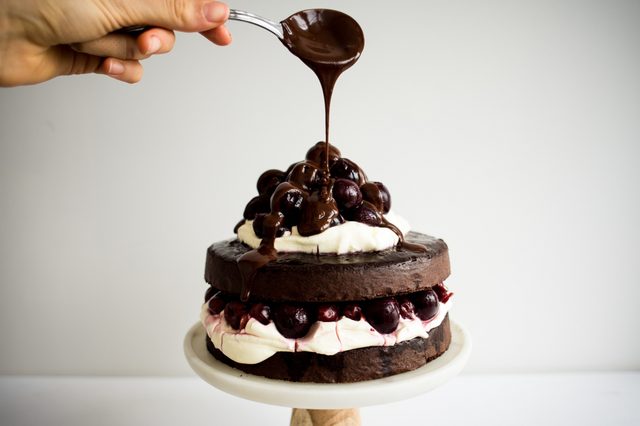 Top with chocolate ganache.
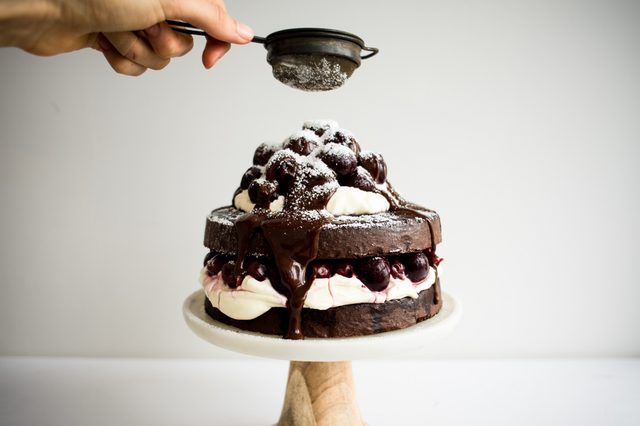 Dust with icing sugar.
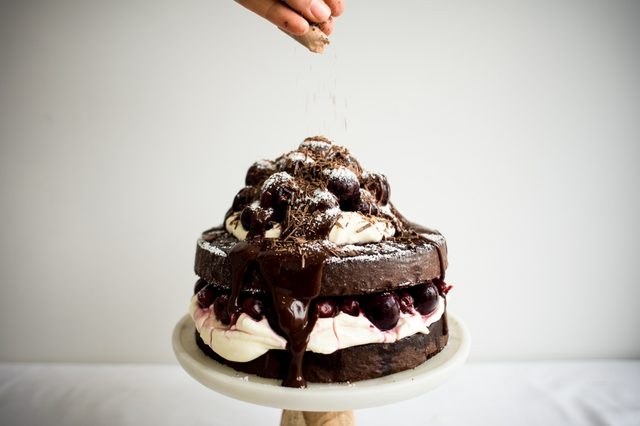 Sprinkle with shaved chocolate.